
Ok. I admit it. I’ve been struggling to wrap my brain around Windows 8 and the new interface. In the course of working with a few other Surface users, I’ve gotten second hand feedback on the Windows 8.1 preview so decided it was time to take it for a pin myself.
Microsoft has a how-to article for upgrading migrating to the Windows 8.1 Preview here. In addition to the general upgrade article, I also referenced this article on creating a USB recovery drive, here.
The Surface tablet uses the Recovery Partition in repair or install the primary operating system. In order to upgrade to the Windows 8.1 Preview, the Recovery Partition is first upgraded to 8.1, followed by the active partition. Since the Recovery Partition will not be able to restore the Surface tablet back to Windows 8, creating a USB Recovery Drive provides that fallback option.
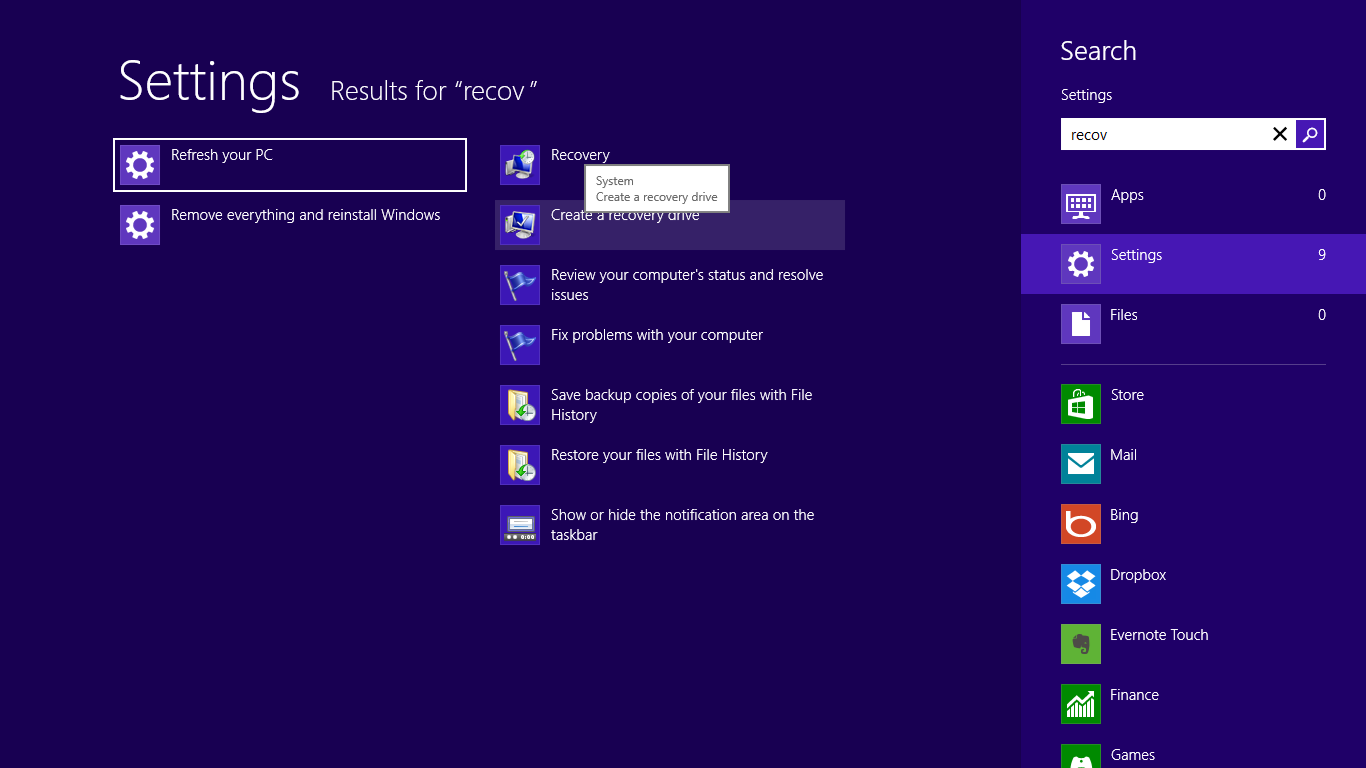
To start creating the Recovery Drive, search for “recovery”, then select “Create a recovery drive”, as seen below.
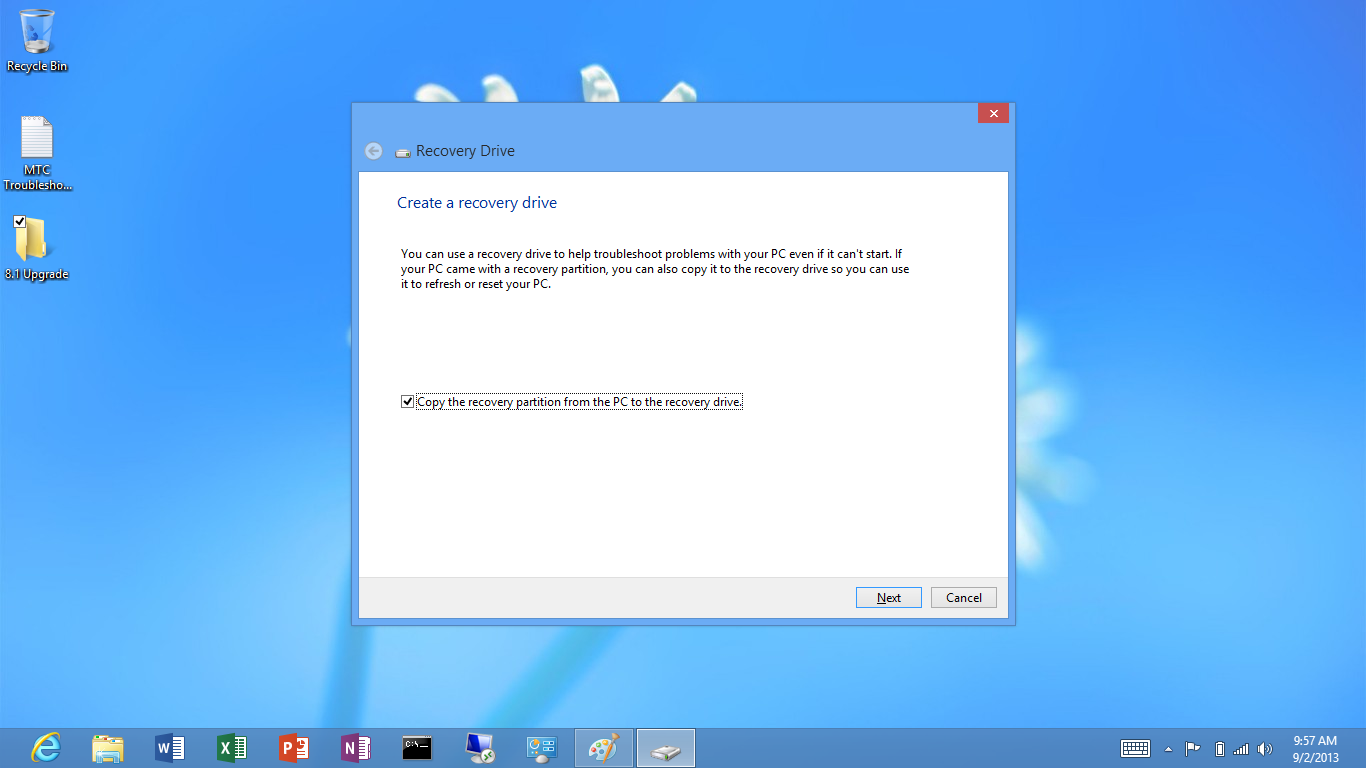
Once the Recovery Utility starts, the first question is the basic “are you sure you want to create a recovery drive” message. The only option here is to click the checkbox and go to Next.
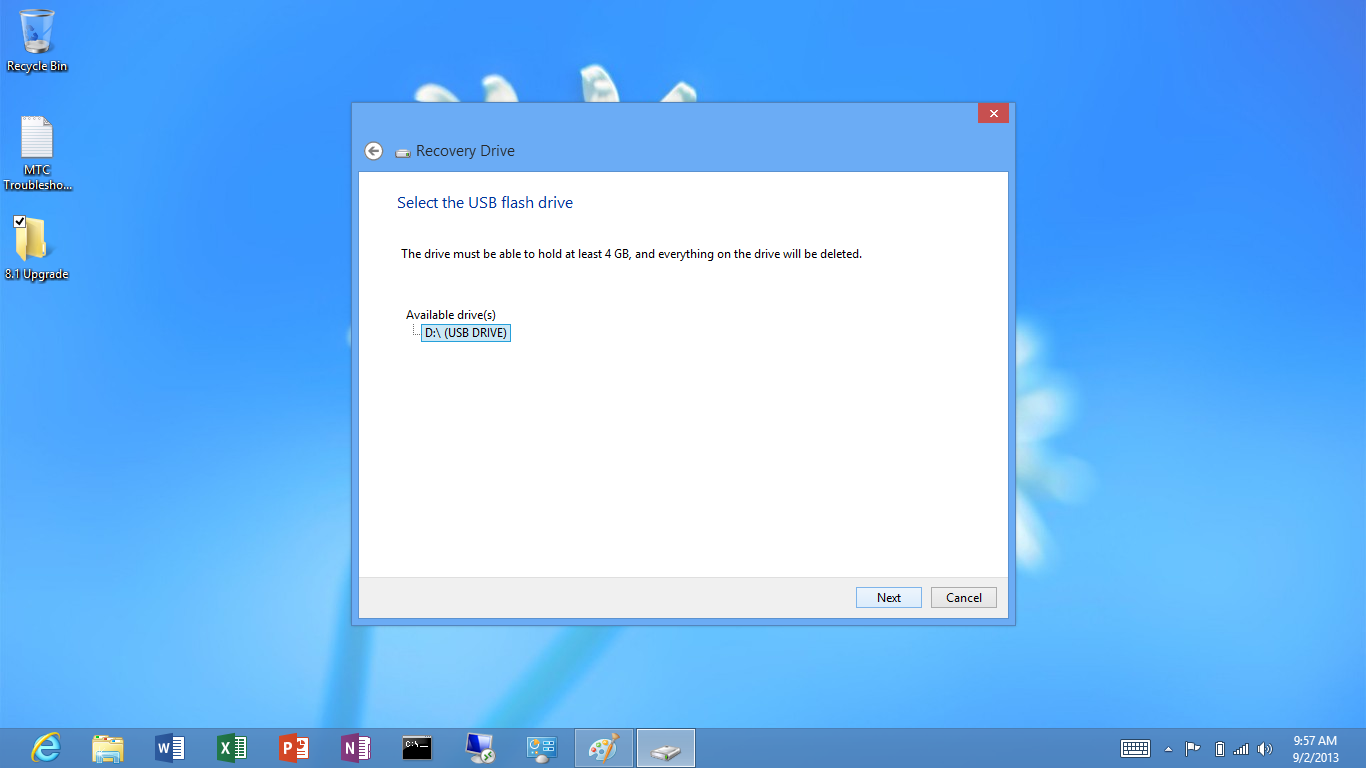
If multiple USB drives are available, select the appropriate drive to format. In the case of the Surface RT, there is only one USB port, so unless an external USB hub is in use there should only be one USB drive to select.
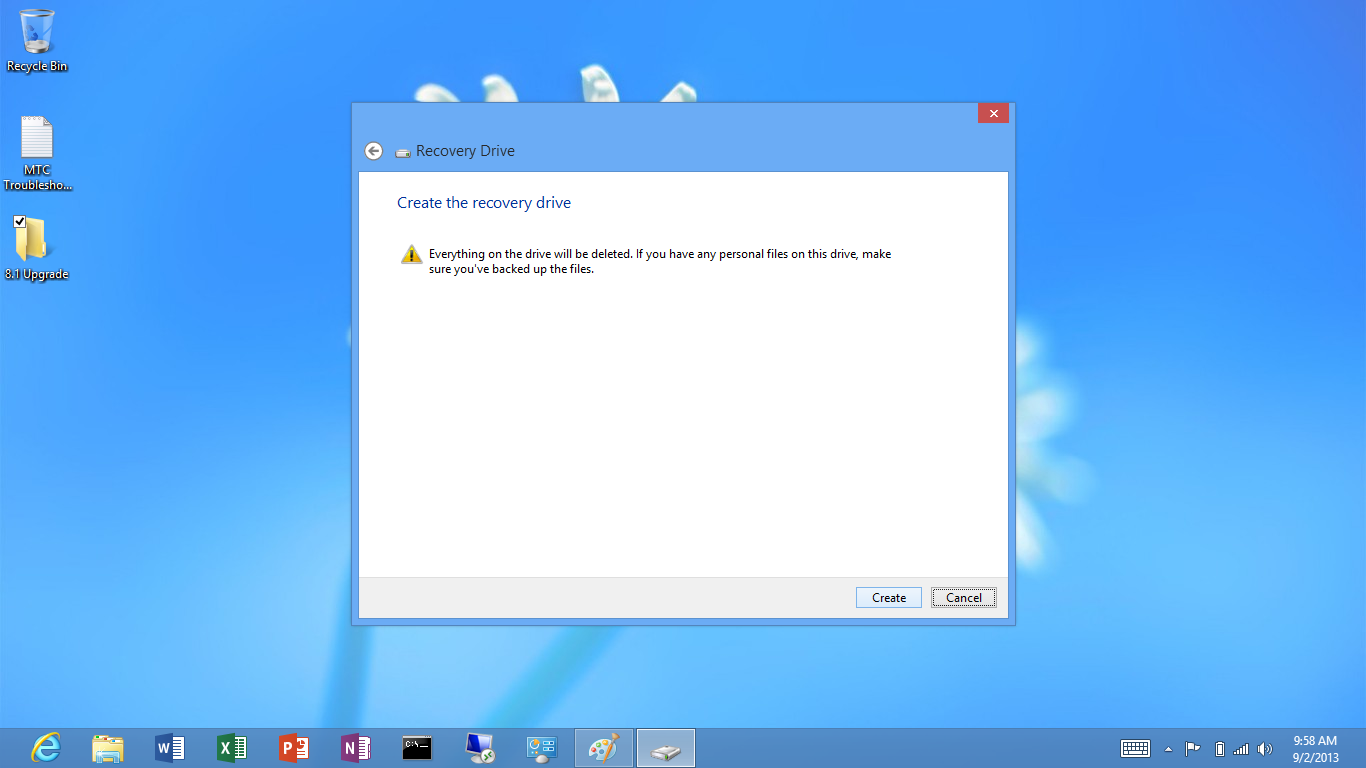
Select “Create” in order to acknowledge the warning message. Creating the USB Recovery Drive will cause the USB drive to be reformatted. Any data previously on the USB drive will be lost.
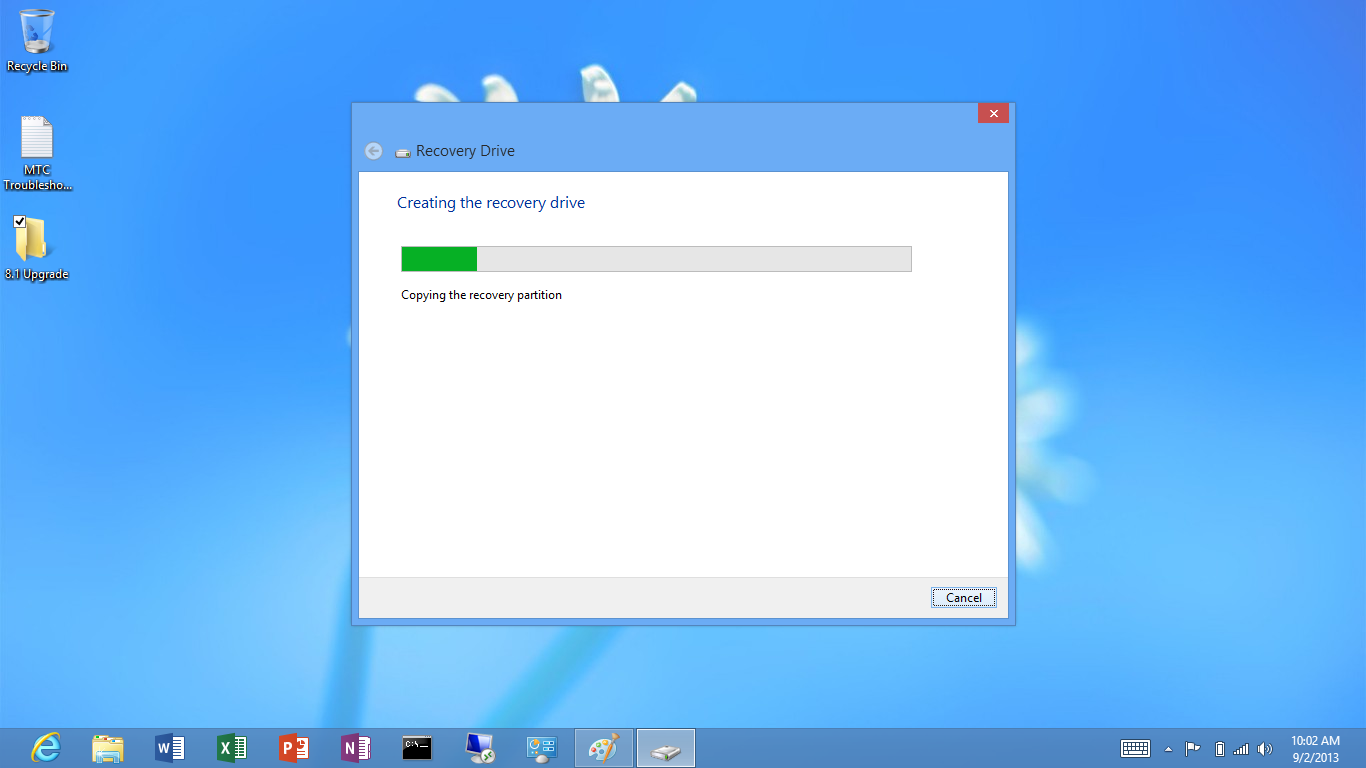
The Recovery Utility will provide status as the drive is created.
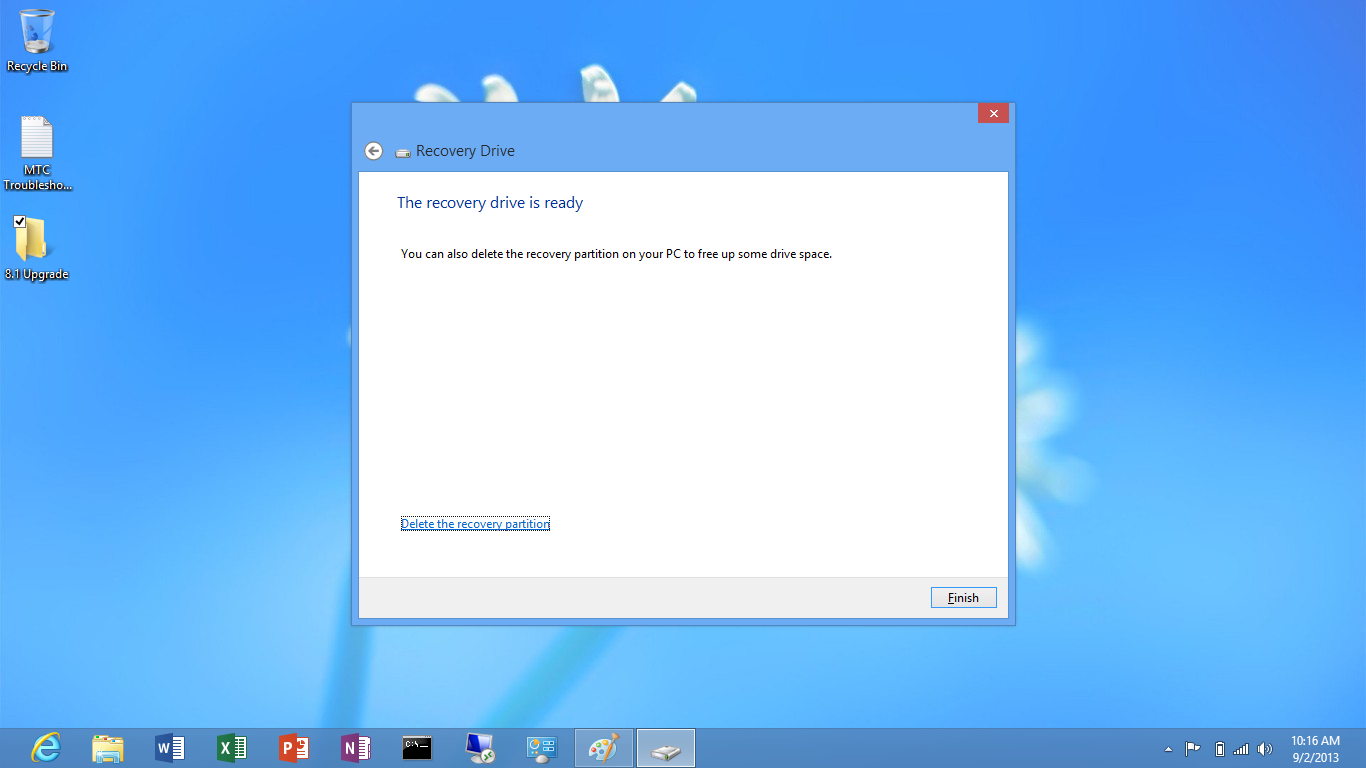
Finally, once the USB Recovery Drive has been completed, you will get a positive confirmation message. At this point, the USB Drive can be ejected and stored in a safe place in case needed later.
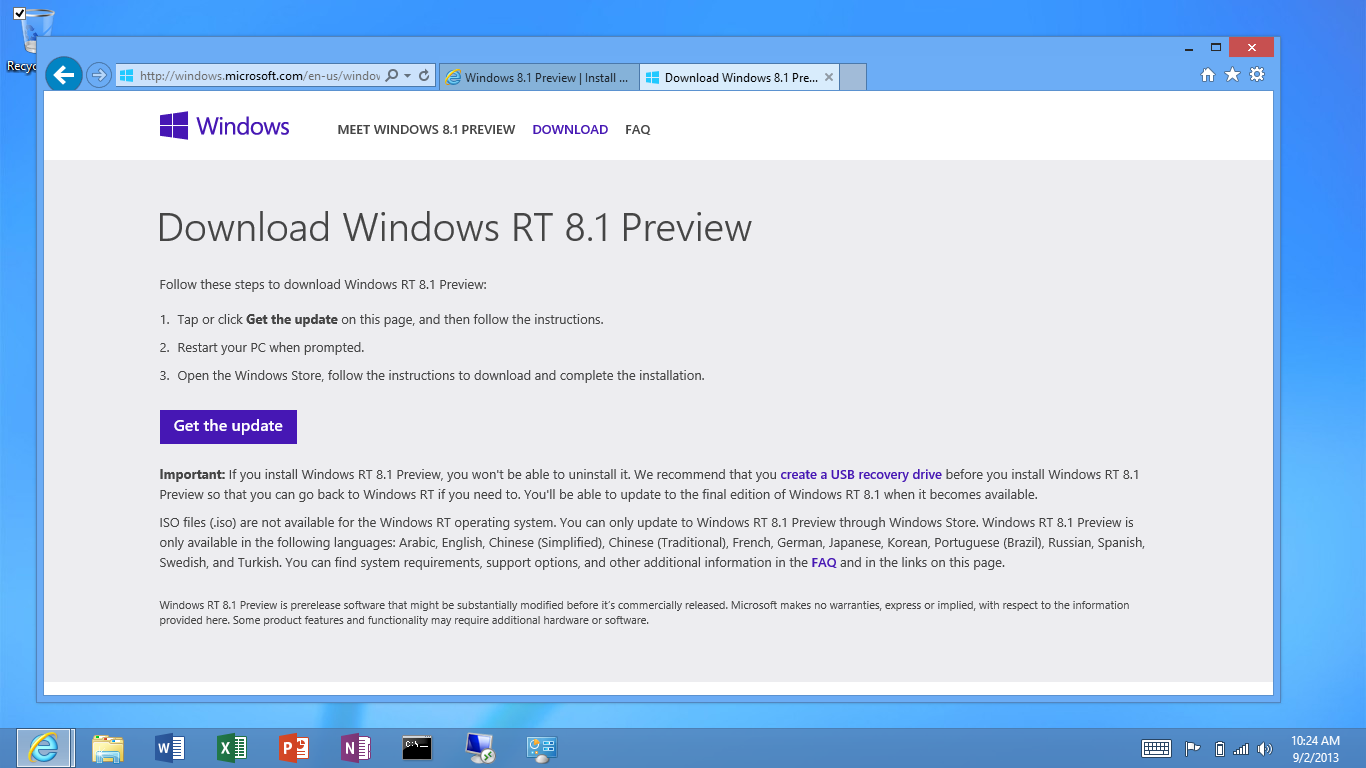
With the USB Recovery Drive created, download the small Windows 8.1 Preview installer from the first article referenced in this write up.
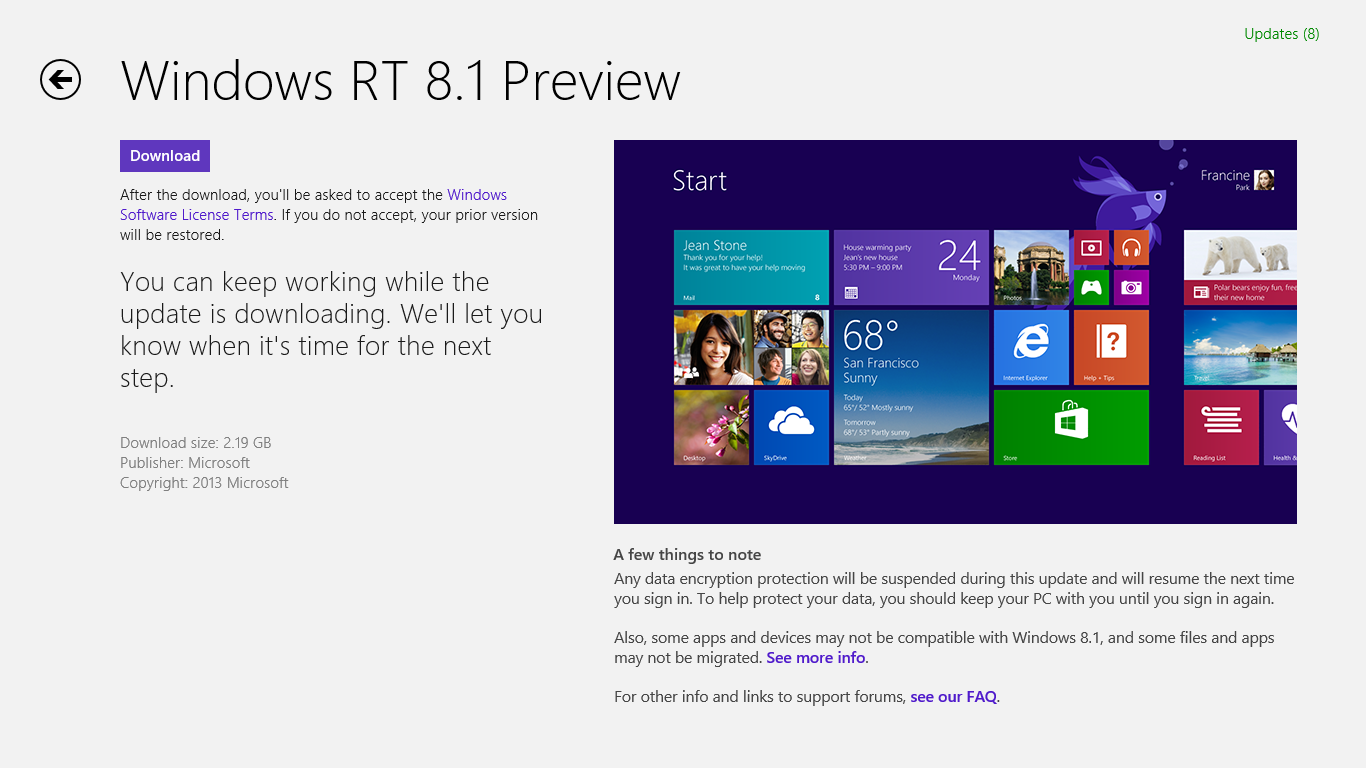
After the updater has been installed and the tablet restarted, proceed to the Windows Store to start the download process.
After the download from the Windows Store is completed, the tablet will reboot several times. Each time, updates are being made to different components.
Finally, after booting up and logging in to the newly upgraded tablet, re-run Windows Update to check for any modifications that might be available. With my Surface RT tablet, there were 17 updates as well as a device firmware update that needed to be applied.
With the updates applied, enjoy!
You must be logged in to post a comment.